Signing and verifying an image
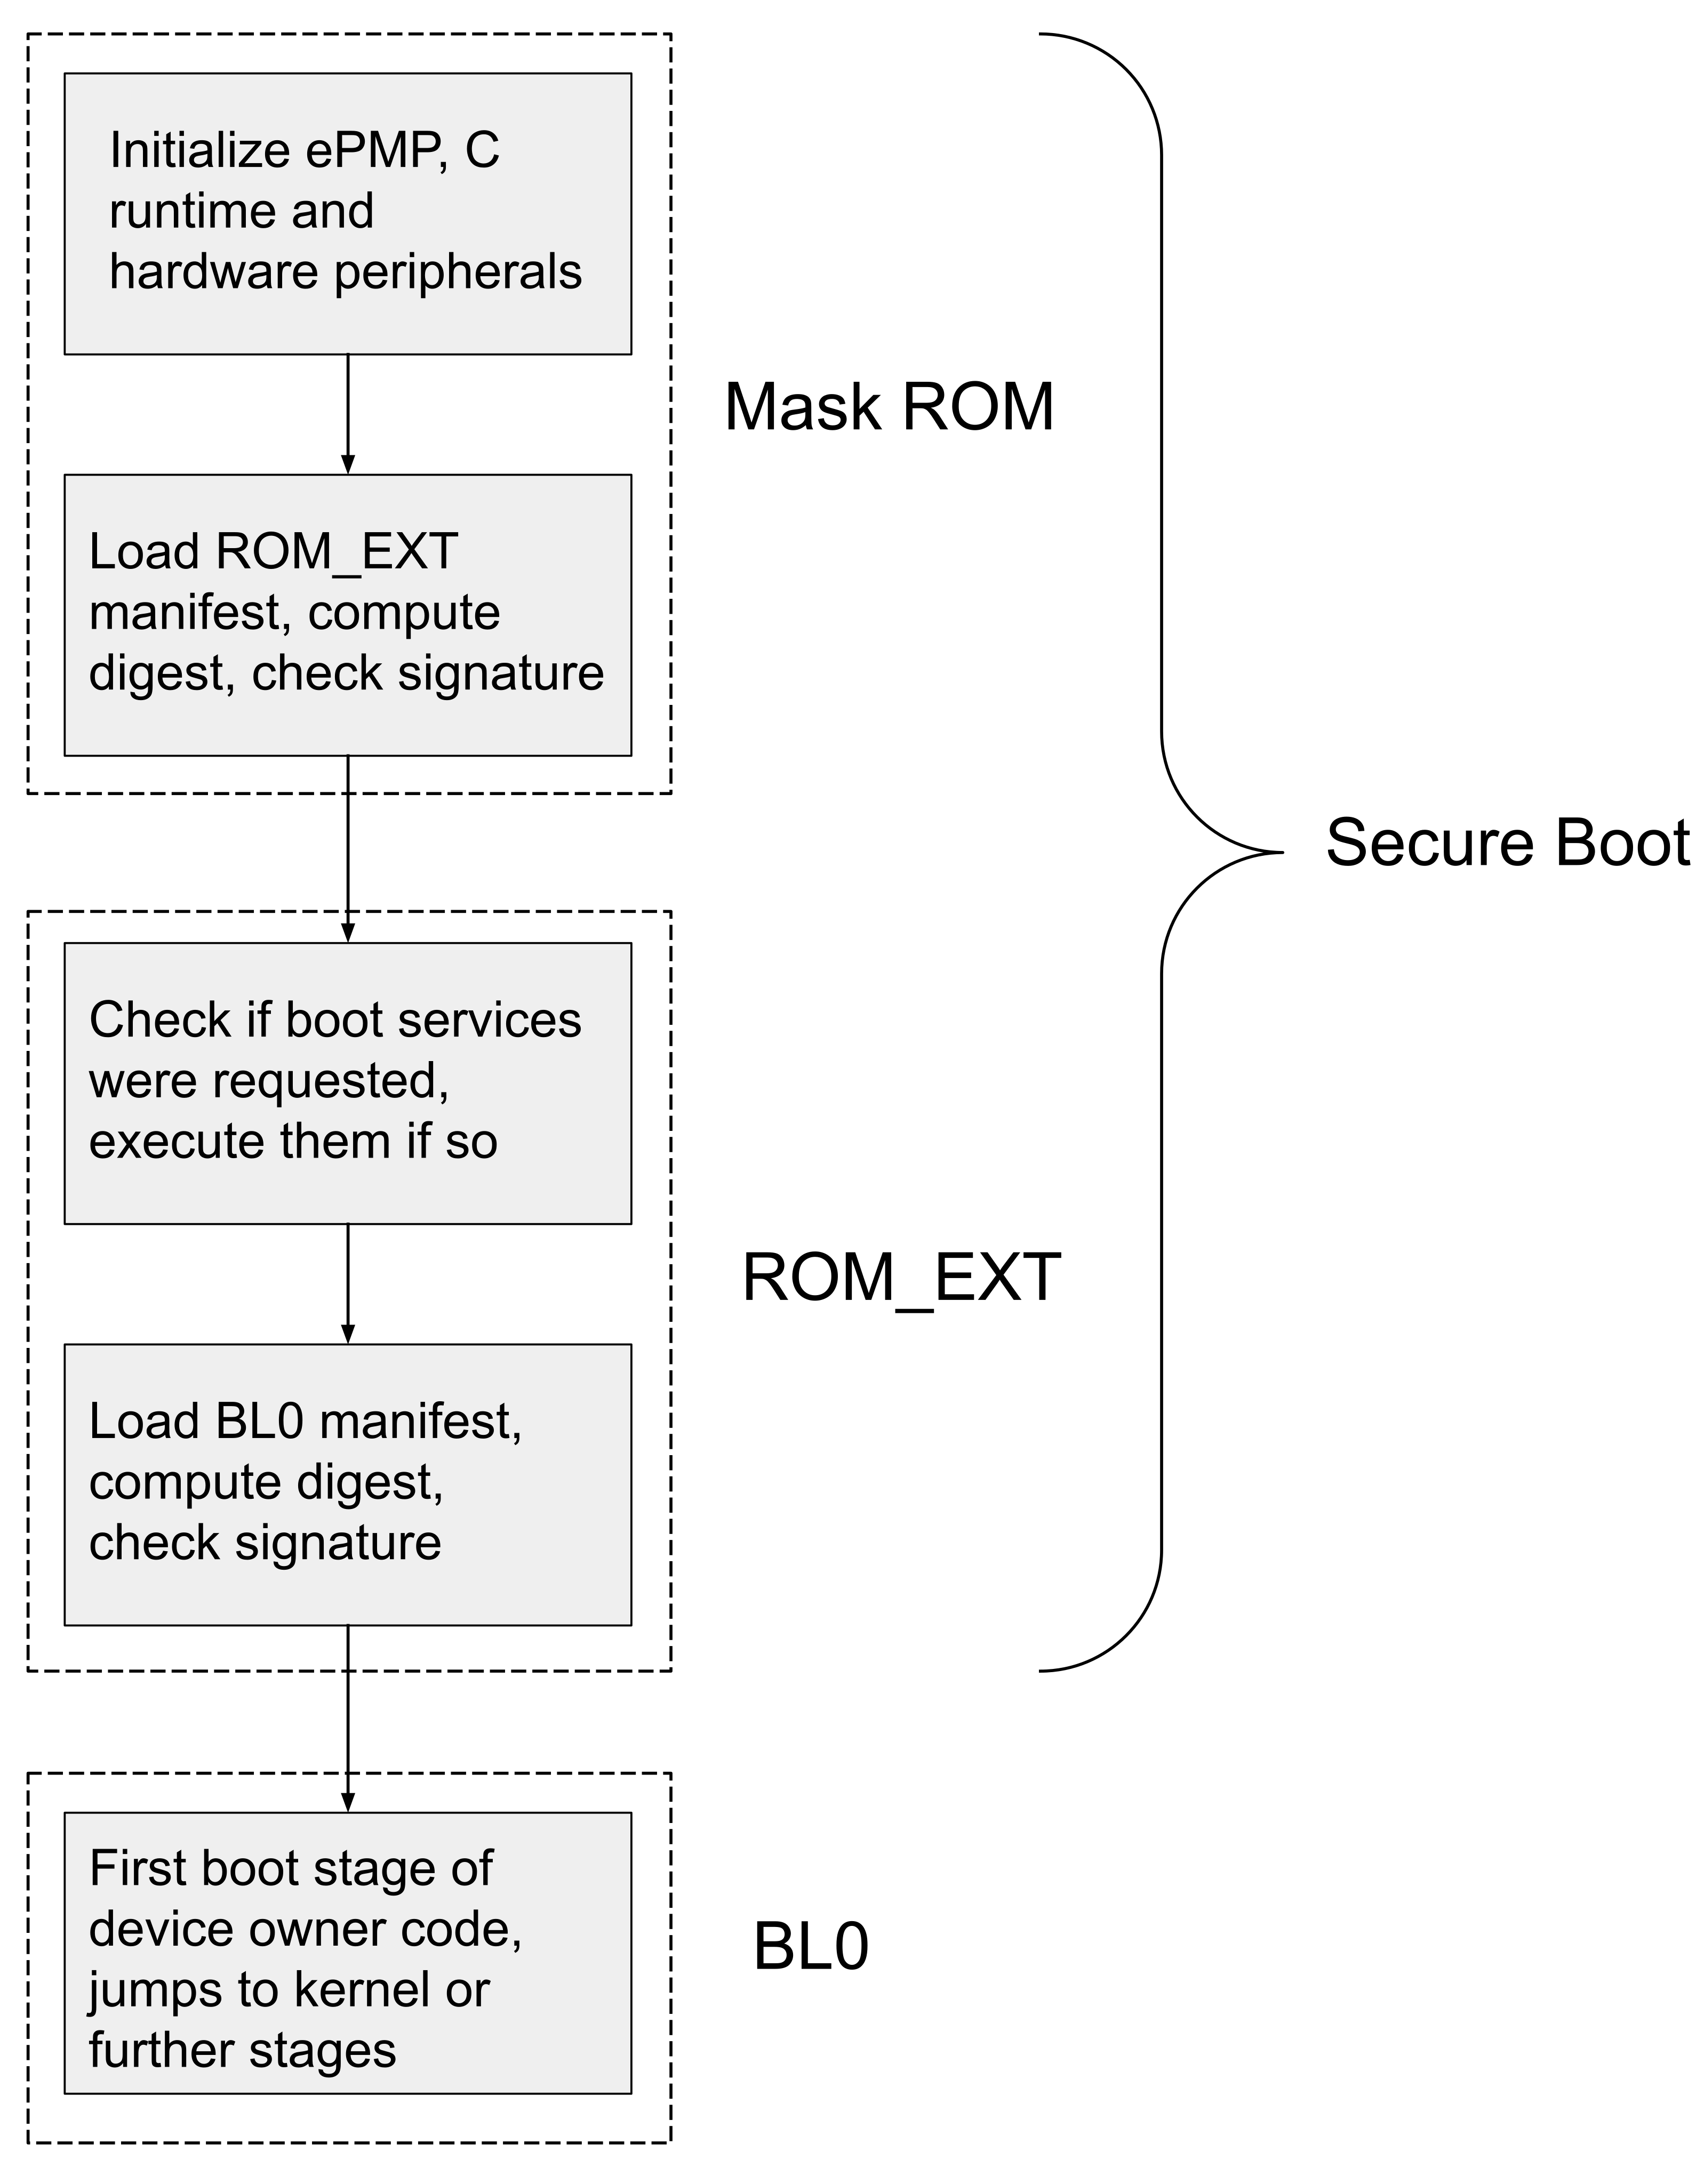
The previous chapter drew each hop of the boot chain as a green arrow: one stage verified the next before handing over control to the next. Each of these arrows adhere to are the same mechanism, and three questions can help guide us through it:
- What does the signature actually cover?
- Which key gets checked against?
- What hardware, if any, does the calculations?
What the signature covers
Every image starts with a 1024-byte manifest, and the digest covers everything from that header onward: the public key, the version fields, and all of the code (the signature itself is excluded, since nothing can sign over itself).
One field is not taken from the image at all. Instead of hashing the manifest’s own copy of the so-called “usage constraints” (see box below), ROM reads those values off the chip itself and hashes what the hardware says.
Note
Usage constraints hold device properties, each of which the signer can either pin to a value or leave open:
device_id, the per-chip identifier in OTP, selectable one word at a timemanuf_state_creatorandmanuf_state_owner, the creator and owner manufacturing states, also from OTPlife_cycle_state, what the lifecycle controller currently reportsA
selector_bitsword says which of the four are pinned. At verification time, ROM fills the pinned ones in from hardware and replaces the rest with a fixed placeholder, then hashes the result. The manifest documentation describes each field and its selector bit, and the sigverify documentation has the final substitution as a one-line formula.
Notably, binding is enforced by the hash, so there is no branching if-else style check anywhere in the code and nothing for an attacker to glitch past. This means that if you tried to run the image from somewhere it does not belong, the digest will simply come out different and the signature will fail.
Anti-rollback works the same way. An image whose security_version is below the
chip’s minimum is not rejected outright. ROM poisons the hash input with
0xFFFFFFFF so that the signature cannot verify, putting failure in the
arithmetic itself rather than in a branch statement.
Which key
The manifest names its signing key and the verifying stage looks for a match.
ROM searches Silicon Creator keys fixed at manufacturing time, each restricted by role to particular lifecycle states (the secure boot spec section has the table).
ROM_EXT searches a keyring of Silicon Owner keys read from the owner page, which
is why that page has to exist before ROM_EXT can verify anything, and why the
lab we’ll do later signs its owner image with app_prod_ecdsa.
Who does the calculations
Egret verifies using the acc block, an asymmetric-cryptography coprocessor, rather than on the main core. ROM hands it the public key, the digest, and the signature, then
reads back a recovered value. There is support for some post-quantum configuration in acc, which we’ll explore later in Part 6.
This last step is another place we can notice the avoidance of if-else style conditional logic (to avoid glitch attacks). If we look at the code, we see that rather than compare the recovered value against the signature, the code XORs it against constants fixed at build time, so a correct signature produces exactly the value that unlocks flash execution and anything else produces garbage and an error. As a result, the permission to run gets derived from the signature being right, instead of by a branch that a fault could skip.
Note
How the XOR check works. The unlock value is never stored. The binary holds eight constants (
kSigverifyShares) chosen so that XOR-ing them together produces it, and only a correct signature makes the recovered value collapse to those shares. Try it: XOR the eight constants insw/device/silicon_creator/lib/sigverify/ecdsa_p256_verify.cand you get0x2f06b4e0, thekSigverifyEcdsaSuccessdefined alongside it. The comments in that file actually walk you through the derivation too, so check it out!
RTFM
Everything above is mostly covered by five files in the Pavona tree, if you want to follow and learn more, check them out:
- Manifest layout and the hashed region:
sw/device/silicon_creator/lib/manifest.h - Usage constraints read from hardware:
sw/device/silicon_creator/lib/sigverify/usage_constraints.c - Hash ordering and the anti-rollback poisoning word:
rom_verifyinsw/device/silicon_creator/rom/rom.c - Key selection and the XOR check:
sw/device/silicon_creator/lib/sigverify/ecdsa_p256_verify.c - The handoff to the coprocessor:
sw/device/silicon_creator/lib/acc_boot_services.c
The lab we’ll do next is where we get to build a real signed image, assemble it into flash, and watch both hops run (simulated) on our own machine.